Learn how to set up UTM Manager Cloud, create structured tracking links, add QR codes, and follow the full visitor journey across your campaigns.
Step 1: Add the code snippet
Get started by adding a small code snippet to your site. No heavy setup, just a quick and simple installation.
Step 2: Create your UTM structure
Organize your UTM tags, campaign names, and tracking rules in one place for cleaner and more consistent campaign management.
Step 3: Generate links and QR codes
Generate trackable UTM links plus static or dynamic QR codes for campaigns across both digital and offline channels.
Step 4: Follow traffic and visitor journeys
See what happens after the click and understand which campaigns, pages, and channels drive engagement and results.
Step 1:
Add the code snippet
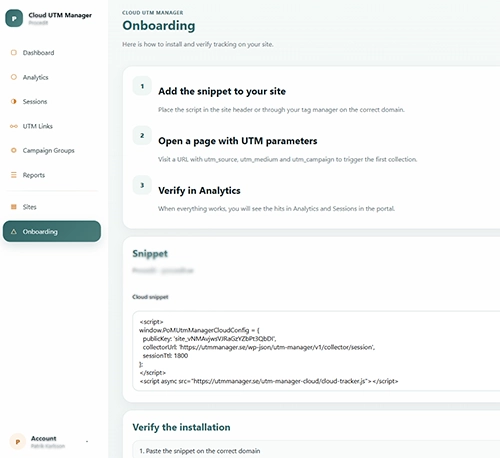
Log in to the Client Portal and open Onboarding to get your tracking snippet. Copy the code and paste it into your website’s global <header> or <footer> so it loads on every page.
If you use WordPress, a plugin like WPCode is an easy way to add the snippet without editing theme files.
Step 2:
Create your UTM structure
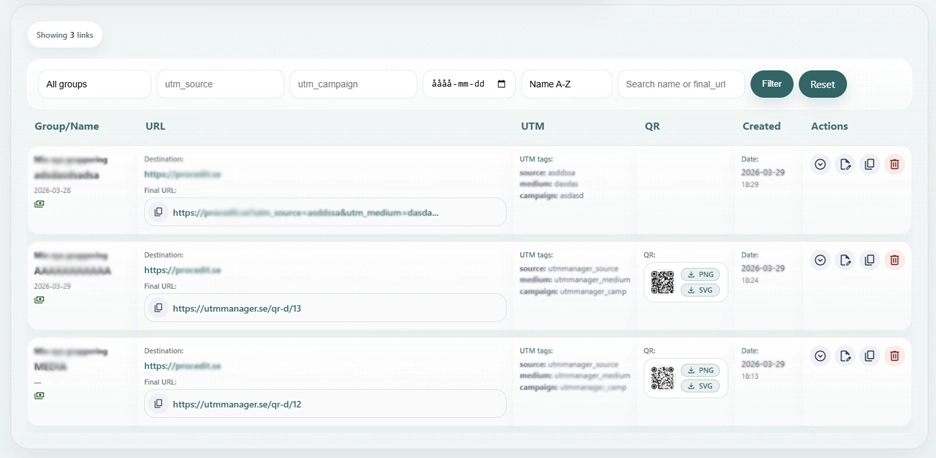
Create your UTM structure by setting up your links, campaign groups, and naming conventions in one place. This helps you stay organized, keep your tracking consistent, and build clean UTM URLs for every campaign.
Step 3:
Generate links and QR codes
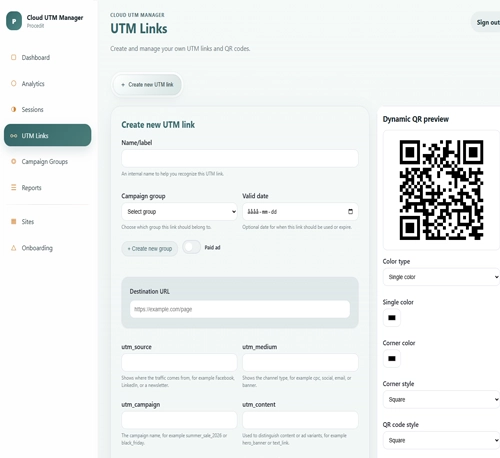
Generate links and QR codes by entering your destination URL and campaign details in one simple view. The system builds a clean tracked link for you and can instantly turn it into a ready-to-use QR code for print or digital campaigns.
Step 4:
Follow traffic and visitor journeys
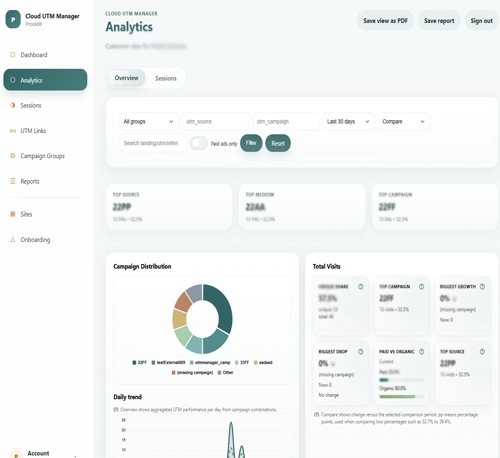
Follow traffic and visitor journeys through a clear analytics view with campaign, source, and session data in one place. See where visitors come from, how they move through your site, and which campaigns generate the most valuable traffic